

Key Capabilities
- SMTP-based email delivery with OAuth 2.0 support for modern providers
- Template mode for dynamic content generation from XML data or Script
- Attachment mode for sending files with customizable message bodies
- Support for multiple recipients (To, CC, and BCC) with dynamic field population
Overview
An Email Send connector connects to an SMTP server to send files as outgoing email messages. Input files processed by the connector can be sent directly as email attachments, or data can be parsed from input files and included in the outgoing message via a scripting template. For more information on creating a scripting template, see the Templates sections.OAuth 2.0 configuration for Outlook and Gmail mail servers are the two most common connection configurations made in the Email Send connector. You can access additional guides and resources for these two mail servers in the CData Community. See Using OAuth 2.0 in the Email Send and Receive Connectors.
Connector Configuration
This section contains all of the configurable connector properties.Settings Tab
Email Send Configuration
Settings for the name and description of the connector.Connection
Settings for connecting to the SMTP server.Message
Settings for the outgoing email message. Most of these fields can include dynamic data from the outgoing file (see Dynamic Fields for more information).Automation Tab
Automation Settings
Performance
Alerts Tab
SLAs Tab
Advanced Tab
Proxy Settings
Advanced Settings
Extra settings related to processing.Logging
Settings that govern the creation and storage of logs.Miscellaneous
Establishing a Connection
The following settings are required to establish a network-level connection to the SMTP server:- Host
- Port
- TLS Type
- User
- Password
Sending Emails
The Message section on the connector Settings page determines the email message to be sent:- If Message Type is set to Attachment, files processed by the connector are sent as email attachments, and you should specify the body of the message in the message text editor. See Attachment Mode for more information.
- If Message Type is set to Template, the message text editor is treated as an Script template. In the scripting template, values can be parsed out from the files processed by the connector and included in the email body. See Template Mode for more information.
Dynamic Fields
The To, From, CC, BCC, and Subject fields support dynamic information from the outgoing file (for example, the filename and the connectors that have processed the file). The file information is available through the [_message] item. The _message item has a collection of attributes with aheader: prefix that corresponds to each of the headers available in the outgoing file. These headers include the filename, any metadata related to processing the file within the flow, and any custom headers promoted to the file via scripting.
The _message item and the header attributes are referenced in square brackets like any other Script item:
[_message.header:headerName]
For example, the Subject could be set to the following value to include the filename of the outgoing file:
[_message.header:filename]
Template Mode
Setting Message Type to Template instructs the connector to interpret the message body as an Script template. The template uses a simple syntax to interact with the input file and retrieve values to use in the email body. These values can be combined with static text to generate a standard body format that is dynamically populated based on the files processed by the connector. To use Template mode, the connector must receive an XML file as an input. Templates can only parse information from XML files.Basic Template
For an example of a template message, consider the following input XML document:Company, Email, FirstName, Description—inside of Lead tags. The Script expression to pass the Email field into a message would look like this:
[document.lead_email]
There are three components to this expression:
- The document item, which points to the currently open file.
- The lead_email attribute, which points to ‘john@abcinc.com’.
- Square brackets (
[]), which indicate the use of a formatter rather than literal characters.
XPath Formatting
The XPath formatter (written asxpath in expressions) provides an alternative approach to retrieving dynamic values from files. This approach might be more familiar to users already using Script elsewhere in . XPath requires input files to be XML files.
Using the same input file example as above:
[xpath(/Lead/Email)]
There are three components to this expression:
- xpath followed by parentheses, which denotes the expression as an XPath expression.
- The path to the data, with each level delineated by slashes.
- Square brackets (
[]), which indicate the use of a formatter rather than literal characters.
Using the XPath Formatter in Template Mode
Consider the following XML:Code View Editor
The Code View editor enables the creation of custom Script for advanced processing of information from XML files. To open the Code View editor, click the Code View button in the message editor.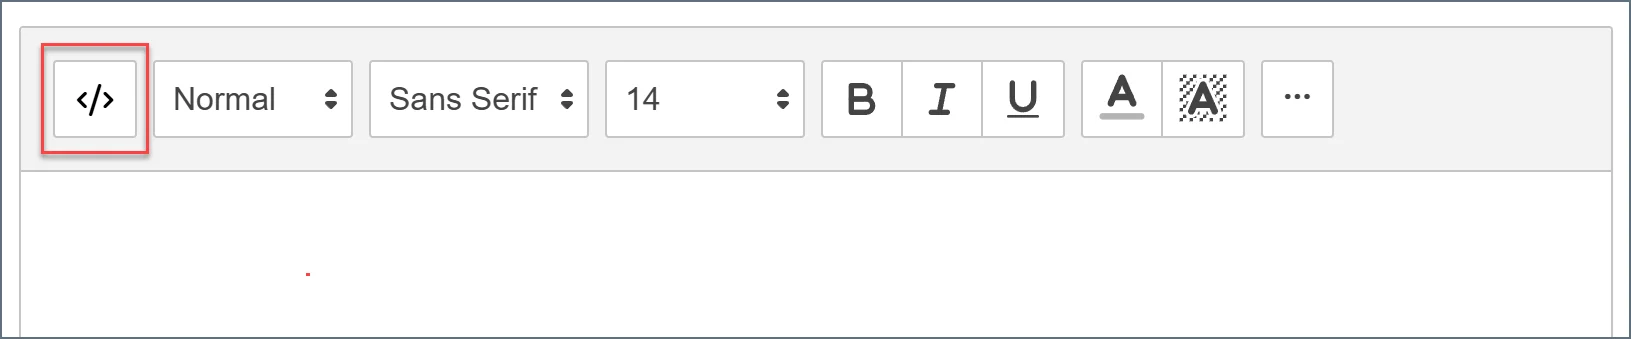
Attachment Mode
If you set Message Type to Attachment, type your email message body into the editor. If necessary, you can reference headers on the input message to enrich the body of the email. The Email Send connector then evaluates those headers, and attaches the input file to the outbound email.This relies on a previous step in the flow to promote the necessary values as headers onto the message. Depending on the content of the file, you can do this with various Operations and connector settings.