> ## Documentation Index
> Fetch the complete documentation index at: https://docs.arc.cdata.com/llms.txt
> Use this file to discover all available pages before exploring further.
# Generating Template Files
> Choose or upload template files for source and destination XML structures in the XML Map connector.
export const UploadTestFile = () => <>
入力ファイルのXML 表現を生成するには、次の手順を実行します。
1. コネクタのTransactions タブで、More ドロップダウンをクリックし、Upload Test File をクリックします。
2. XML としてモデル化したいディスク上のファイルに移動し、それを選択してOK をクリックします。
3. フロー内でEDI コネクタをXML Map コネクタに接続します。この接続はいずれの方向でも可能です。XML Map コネクタへのインバウンド、またはXML Map コネクタからのアウトバウンドのいずれかです。
XML Map コネクタは、テストファイルの構造を自動的に検出します。EDI コネクタを配置した場所に応じて、ファイルはXML Map コネクタのSource File またはDestination File ドロップダウンメニューに表示されます。
テストファイルは、互換性のあるコネクタがフロー内でXML Map に接続されている場合にのみ、XML Map コネクタで利用できます。
;
The first step in any XML mapping is to choose or upload template files representing the source and destination XML structure.
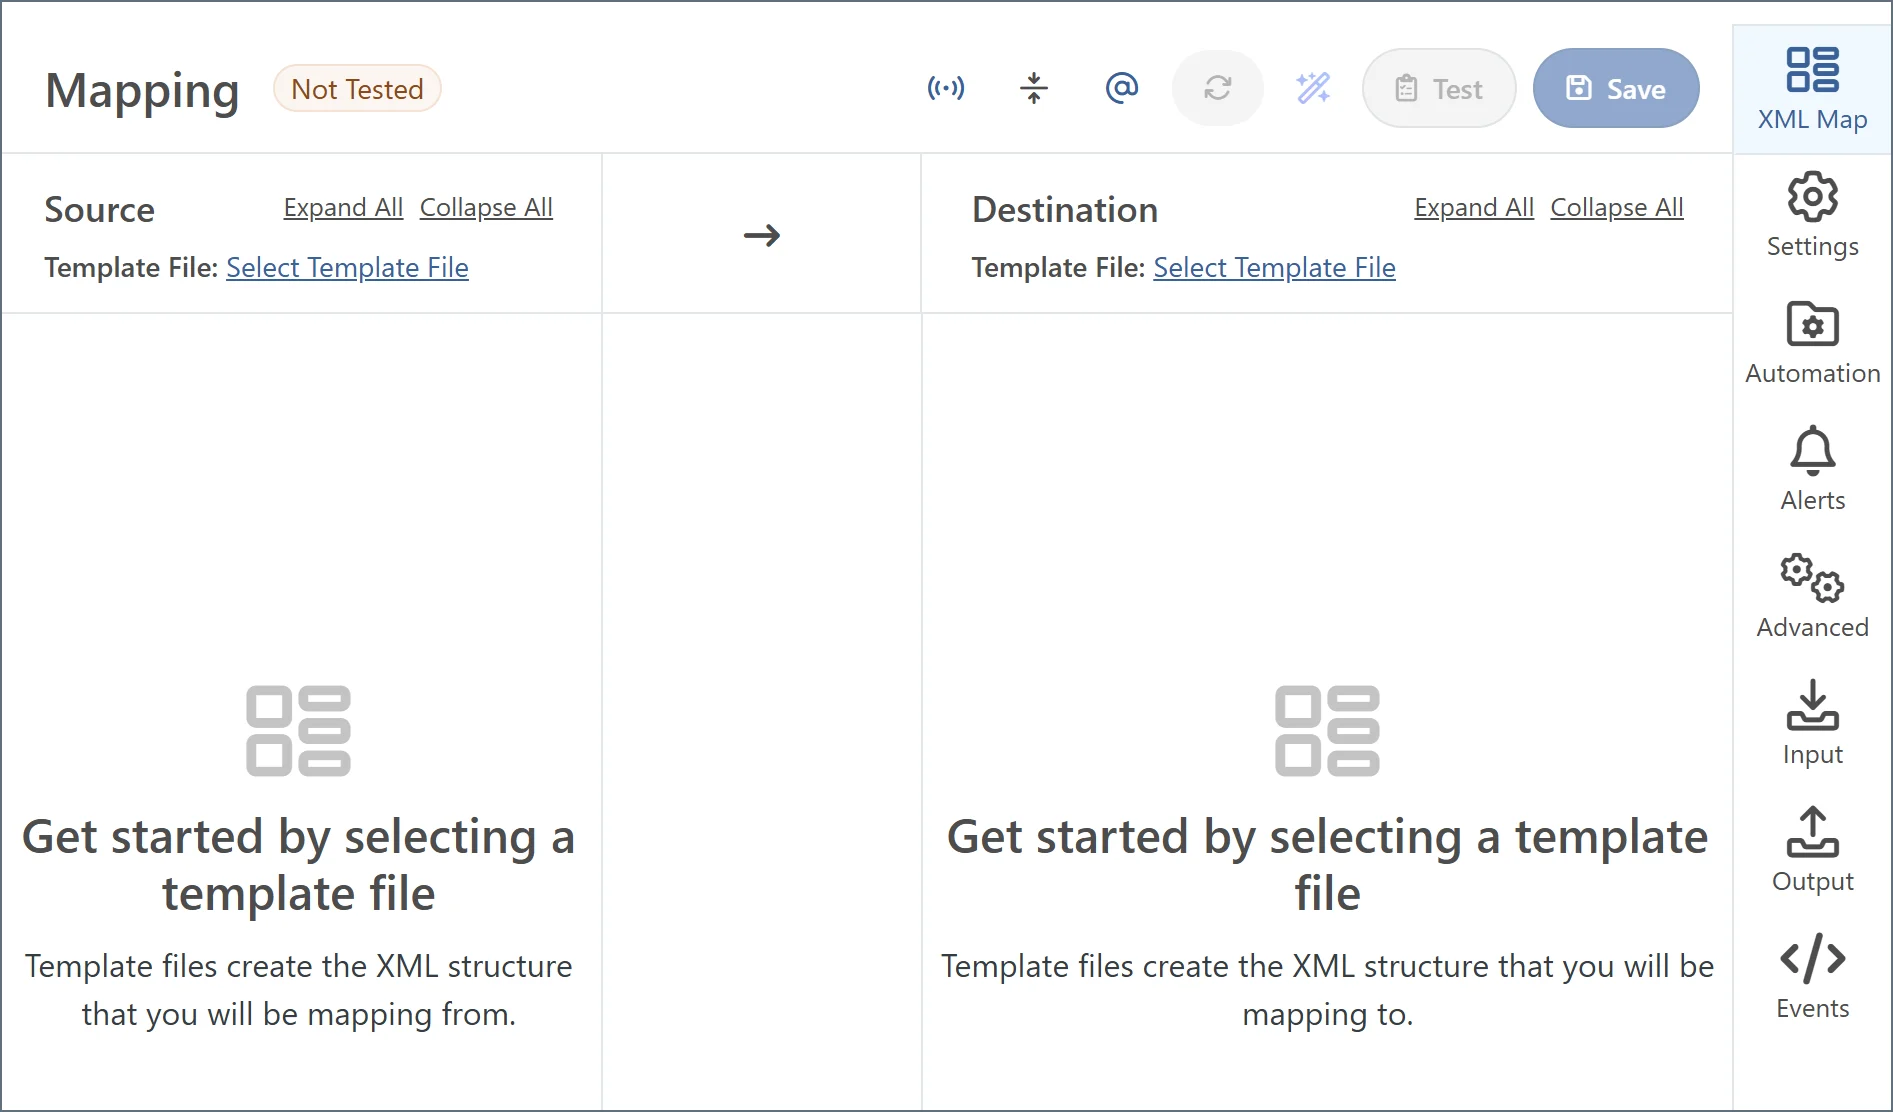 * *Source files* represent the XML structure of input documents. Any files processed by the connector should have a matching XML structure. Elements in input documents can be repeated in ways that differ from the source file as long as the structure of nested elements is the same.
* *Destination files* represent the structure of output documents. Files produced by the connector have a matching XML structure. Elements in the output document can be repeated or omitted in ways that differ from the destination file according to the mapping; however the structure of nested elements remains the same.
These samples can be generated within Arc in several ways.
## Template Files from Transformation Connectors
Transformation connectors like X12, EDIFACT, and CSV automatically convert documents into XML. In addition, EDI connectors make the full file schema available to the XML Map connector. This provides an easy starting point for mapping your EDI file into the desired format, especially in cases where a single test file might not cover all the elements that could be required in the mapping.
### Upload Test File
### Manually Create a Test File
You can also manually create test files. Simply send a sample file through the transformation connector (EDI connectors should be explicitly configured as 'EDI-to-XML' mode) to generate an XML output file. Download that output file and upload it again as the source or destination file in an XML Map connector.
## Choose a Built-In Template File
When you connect an [EDI connector](../edi-connectors) that contains built-in schema files to an XML Map connector, the XML Map connector can automatically read the schema files and provide them as options in the **Source File** or **Destination File** fields on the XML Map **Settings** tab. These template files are prefixed by `connector://`.
## Template Files from Database Connectors
Database connectors like the SQL Server, MySQL, and CData connectors automatically generate XML representations of their Input and Output mappings. Similar to EDI and CSV connectors, after a source or destination mapping is saved in a database connector, any connected XML Map connectors can automatically detect these XML structures.
To use a database table structure as a source or destination file, follow these steps:
1. In the database connector, establish a working connection to the database.
2. Choose an action (for example, Select, or Upsert), and configure it accordingly. Optionally, you can use the **Preview** button to save a sample for mapping that includes sample data.
3. Connect an XML Map connector to the database connector in the flow.
4. Find the table structure as a source or destination file in the XML Map connector settings.
## Best Practices
XML Map connectors are typically between two other connectors in an Arc flow. It is usually best to generate template files with the two connectors surrounding the XML Map connector. For example, the following flow has an XML Map connector mapping X12 files to a database insert:
* *Source files* represent the XML structure of input documents. Any files processed by the connector should have a matching XML structure. Elements in input documents can be repeated in ways that differ from the source file as long as the structure of nested elements is the same.
* *Destination files* represent the structure of output documents. Files produced by the connector have a matching XML structure. Elements in the output document can be repeated or omitted in ways that differ from the destination file according to the mapping; however the structure of nested elements remains the same.
These samples can be generated within Arc in several ways.
## Template Files from Transformation Connectors
Transformation connectors like X12, EDIFACT, and CSV automatically convert documents into XML. In addition, EDI connectors make the full file schema available to the XML Map connector. This provides an easy starting point for mapping your EDI file into the desired format, especially in cases where a single test file might not cover all the elements that could be required in the mapping.
### Upload Test File
### Manually Create a Test File
You can also manually create test files. Simply send a sample file through the transformation connector (EDI connectors should be explicitly configured as 'EDI-to-XML' mode) to generate an XML output file. Download that output file and upload it again as the source or destination file in an XML Map connector.
## Choose a Built-In Template File
When you connect an [EDI connector](../edi-connectors) that contains built-in schema files to an XML Map connector, the XML Map connector can automatically read the schema files and provide them as options in the **Source File** or **Destination File** fields on the XML Map **Settings** tab. These template files are prefixed by `connector://`.
## Template Files from Database Connectors
Database connectors like the SQL Server, MySQL, and CData connectors automatically generate XML representations of their Input and Output mappings. Similar to EDI and CSV connectors, after a source or destination mapping is saved in a database connector, any connected XML Map connectors can automatically detect these XML structures.
To use a database table structure as a source or destination file, follow these steps:
1. In the database connector, establish a working connection to the database.
2. Choose an action (for example, Select, or Upsert), and configure it accordingly. Optionally, you can use the **Preview** button to save a sample for mapping that includes sample data.
3. Connect an XML Map connector to the database connector in the flow.
4. Find the table structure as a source or destination file in the XML Map connector settings.
## Best Practices
XML Map connectors are typically between two other connectors in an Arc flow. It is usually best to generate template files with the two connectors surrounding the XML Map connector. For example, the following flow has an XML Map connector mapping X12 files to a database insert:
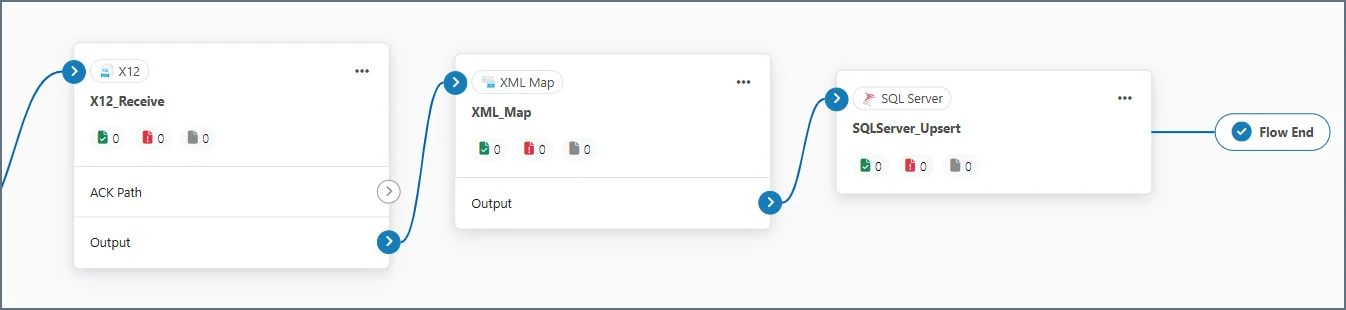 In this example, you should use the X12 connector and the SQL Server connector to generate the XML template files for the XMLMap connector between them. Alternatively, choose from the lists of built-in template files.